Sometimes working in NodeJs/JavaScript application can reserve some surprises when it comes to helping the developers to error out some common issues about their application structure and relation between their different project files. Let’s say that you are working in a NodeJS application and you change a file name and forget to update the require/import paths. Since JavaScript has no way of knowing that these paths are wrong, you might find out about the error only after you run the application. Here is a tutorial we propose on how to install and use ESLint within Visual Studio Code to remedy this issue.
Context

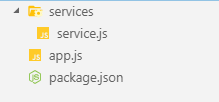
Let’s take for example this very simple nodeJS application composed with just a simple entry file (app.js) calling a service (service.js)
app.js content:

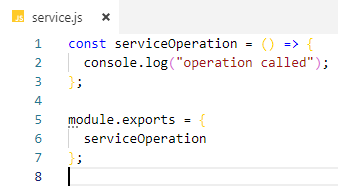
service.js content:

Now let’s run this simple application by typing:
node app.js
The application is running correctly.

Renaming
Now let say during refactoring or cleaning you find that service.js too generic and start to rename a bunch of files.
For this example, we are going to rename service.js to user-service.js.
The same application with a new service name.

Everything seems to be correct. And now if we look at our app.js we notice that the old path is still here but not showing any errors.

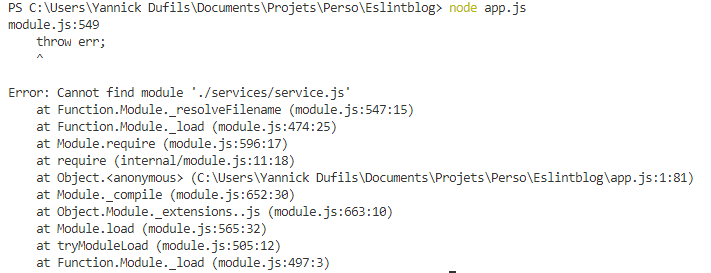
Now let’s try to re-run our application.
As we can predict it is running into an error not being able to find that module service.js

The solution
We can avoid these with ESLint and more specifically for the require/import path errors with a module that sits on top of ESLint called eslint-plugin-import.
ESLint is a customizable plugin that corrects your JavaScript and can give you errors or even just suggestions to do better code. You could, for example, make console.log() illegal to use in your code. ESLint can be compared to StyleCop (C#) where it will suggest better ways to write code and give out errors on bad code that could otherwise be compiled.
How to set up ESLint and eslint-plugin-import on a project
Setting up these tools is very easy and can be set up in just a few steps.
You will need to install the ESLint extension on VSCode.

Next, you want to install eslint package to your project
npm install eslint --save-dev
or to install it globally (you might also need to install it in the workspace if you install it globally):
npm install eslint -g
To create a eslint config file:
$ ./node_modules/.bin/eslint --init
or if you have it installed globally:
eslint --init
Follow directions in the console and select your preferences.

Now that ESLint is installed, you can install eslint-plugin-import
npm install eslint-plugin-import --save-dev
At this point everything should be installed, now all that’s left is to configure ESLint how we want it.
In the .eslintrc.json/yml/js file, add this to the file to use the eslint-plugin-import
"plugins": [
        "import"
    ],
Now to enable the checks for require/import paths, add this to the rules:
"import/no-unresolved": [
    2,
    {
        "commonjs": true,
        "amd": true
    }
]
The file should look something like this:
{
  "env": {
    "commonjs": true,
    "es6": true,
    "node": true
  },
  "extends": "standard",
  "globals": {
    "Atomics": "readonly",
    "SharedArrayBuffer": "readonly"
  },
  "parserOptions": {
    "ecmaVersion": 2018
  },
  "rules": {
    "import/no-unresolved": [
      2,
      {
        "commonjs": true,
        "amd": true
      }
    ]
  },
  "plugins": ["import"]
}
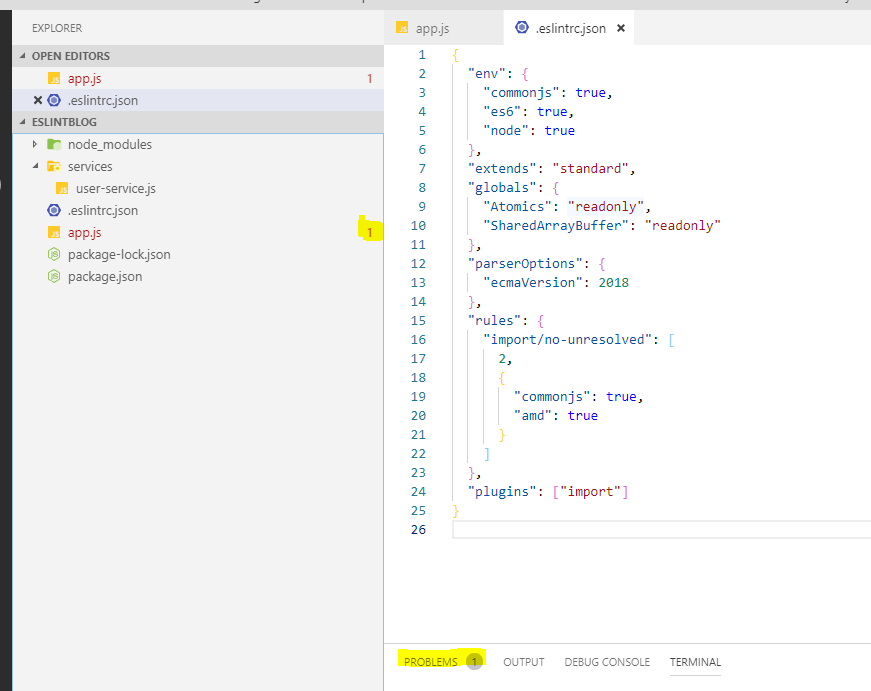
Now you will directly notice an error inside VS Code

If you click on the problems tab or open app.js you will see the error pointing out that a require is pointing to a wrong file.


Conclusion
Hopefully, this will help you with your future NodeJS/JavaScript applications, as we got caught with these same issues in the past. ESLint can be very nice to enforce coding style across the team. One of the weaknesses of JavaScript is the fact that it is very flexible (and sometimes too flexible) when it comes to style and syntax.